Modal
Inserting Modal
Modals are a great way to display terms of use, privacy policy, your cookie policy or even a newsletter signup form. Modals can be launched from content and header buttons.
Creating a Modal
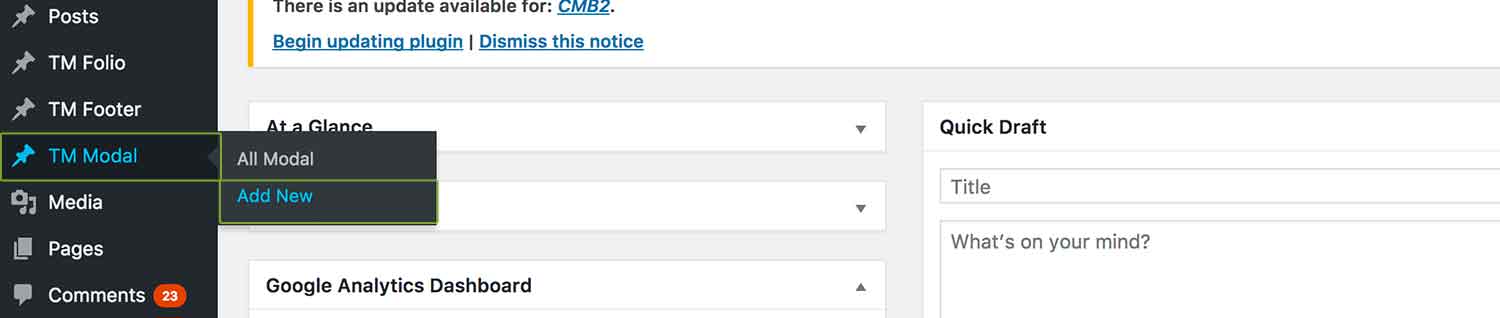
Step 1: Add New Modal
To create a modal, go TM Modal > Add New for example:
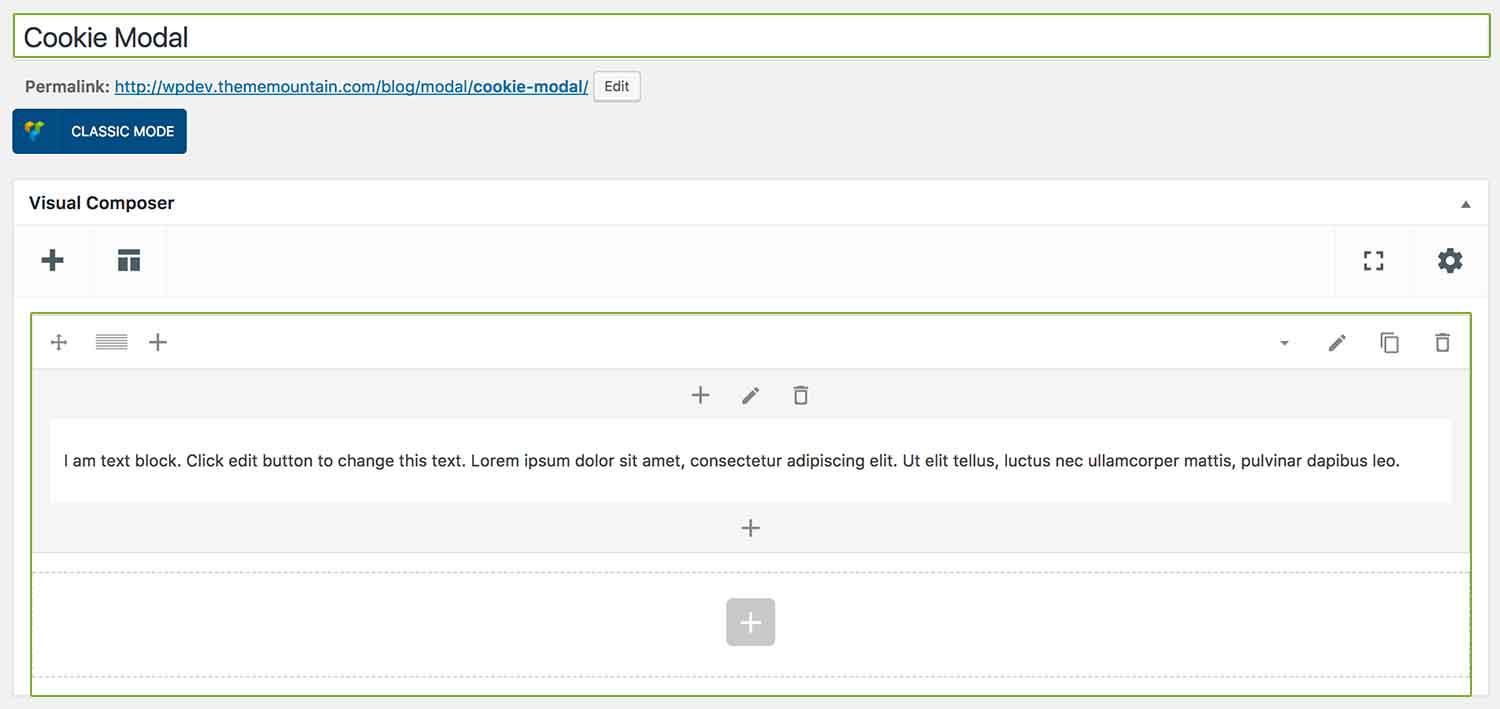
Step 2: Add Content
Name your modal, then just like you would build a page using Visual Composer, you can build your modal using all ThemeMountain Shortcodes, for example:
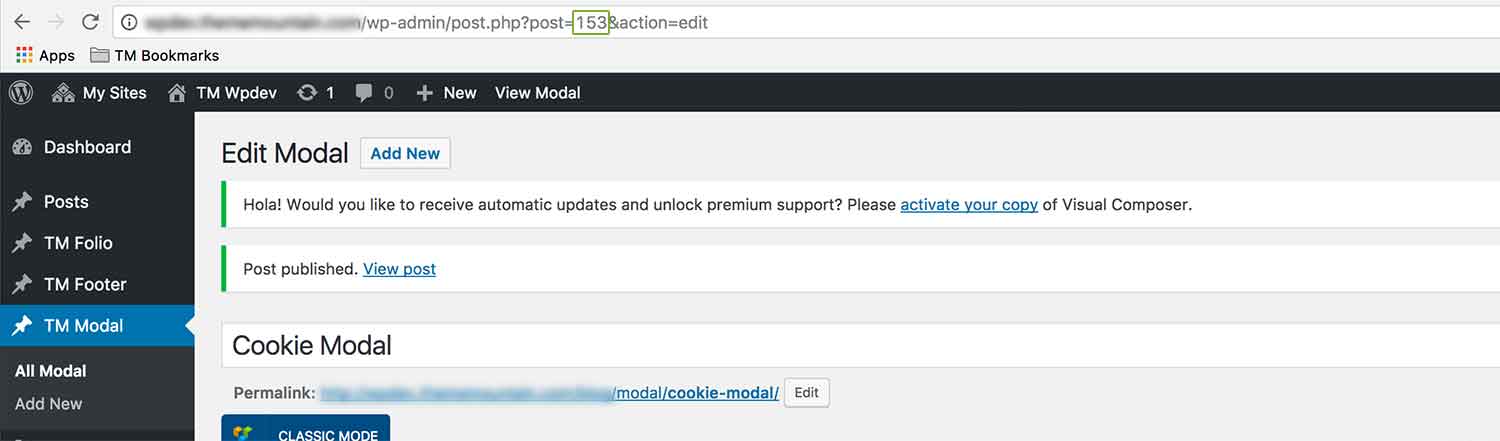
Step 3: Get Modal ID
This step is only necessary if you are launching a modal from a content button shortcode i.e. inserted through the WYSISYG editor. Once you have finished creating your modal and published the content, the modal ID will appear in the URL right after "post=". Note: for Header and Visual Composer buttons, you can select the modal name directly in the shortcode.
- More on how link a content button to a modal here.
Modal Options
For each modal you can set such things as modal initial width, lightbox overlay animation, modal animation and cookie policy. This is done under "Custom Options for Modal Items" at the bottom of the page editor, for example:
Here is an overview of available modal options options:
-
Modal Width
Determines the initial modal width beyond which the modal will not scale.
-
Modal Content Animation
Determines the animation of the actual modal box
-
Lightbox Overlay Animation
Determines the animation of the modal overlay.
-
Auto Launch Modal
Determines the delay before the modal is launched upon page load. Expressed in milliseconds i.e. 5000, represents 5 seconds.
-
Set Cookie
Sets a cookies so that the modal only autolaunches a single time. This is useful if you create a autolaunching signup using a modal.
Can't find what you're looking for? Submit a request in our forum.